Connecting your Student's laptop to your home Wi-Fi is an important first step to ensuring they have access to materials outside of the classroom. This guide will show what this process looks like.
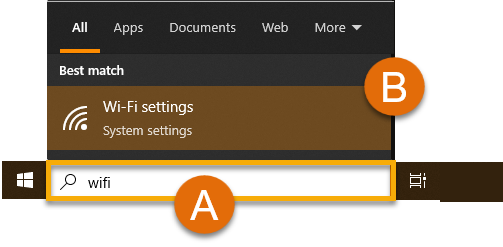
1. In the Search Box on the taskbar, type "wifi" and press the Enter key. This will take you to the Wi-Fi settings page.

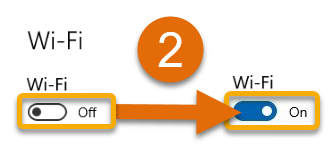
2. In the new Wi-Fi window, make sure your laptop's Wi-Fi is toggled to 'On'.

3. Just below the Wi-Fi toggle, click 'Show available wireless networks'

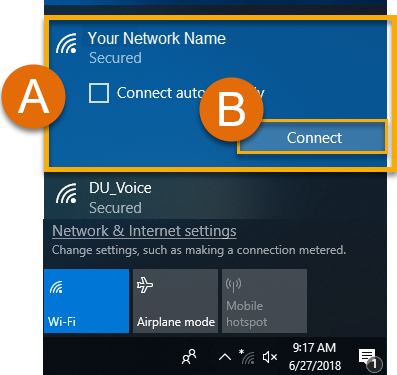
4. Click on your Home Wi-Fi Name (also called an 'SSID') (A), then the 'Connect' button (B).

5. You're All Set! You can now connect to your Home Wi-Fi.
Tip: To quickly see if you're connected to Wi-Fi in the future, just look for the wireless icon ![]() in the bottom-right of your desktop and give it a click for more details.
in the bottom-right of your desktop and give it a click for more details.
Still Have a Question? Please reach out to your school for further assistance.

