

Signatures are a great way to add a professional (or personal!) touch to the bottom of your emails. This guide will walk you through how to Create a Signature that will automatically be used for New Emails and Replies.
Getting Started
1. Open a new Email.
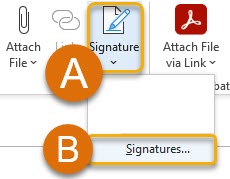
2. On the Message tab, click the "Signature" button (A), then "Signatures" (B).
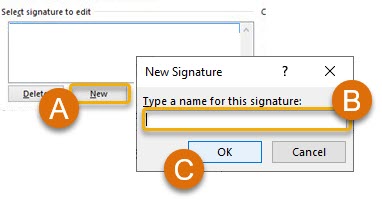
3. Under "Select signature to edit", click the "New" button (A), and in the New Signature dialog box, type a name for the signature (B), before clicking the "OK" button to continue(C).
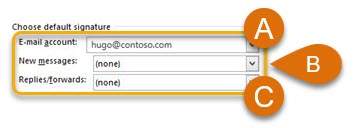
4. Under the "Choose default signature" section, set the following options for your Signature:
- In the "E-mail account" drop-down, make sure it is the Email account you are currently using (A).
- In the "New messages"drop-down, choose the signature you want to be added automatically to all new email messages (B).
- In the "Replies/forwards" drop-down, choose the signature you want to be added automatically when you reply to or forward messages (C).
Tip: Don't want to use the signature? Leave the option as "blank" and it won't be used for that message type.
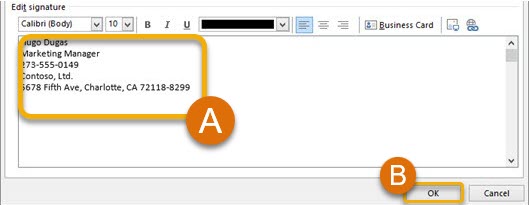
5. Under the "Edit signature" section, create the signature you want (A), and then choose "OK" (B).
6. You're all set! you can now Create a Signature in Outlook.
Still have a question? Please reach out to your School for more information or assistance.