

For many of our graduating Seniors and other students leaving the District, it's important to know how to export all of the files they've worked on over their academic careers here at PSD. This guide will break down how to do this for several of the big-impact applications or locations where files are kept.
Remember: All data for Graduating Seniors must be exported by July 1st of the current school year. After this, the data will be permanently deleted! Other Students leaving the District will have 30 days from their date of withdrawal to access and export their content. If you have questions on this date, please get with their enrolled school.
We will cover the following in this guide:
- Preparation for Exporting
- Google Drive
- Microsoft OneDrive or SharePoint
- School Server Locations (U: Drive, Z: Drive, R: Drive, or other 'letter' drives)
- Adobe Creative Cloud
- Xello
Also, be sure to update any other accounts linked to your PSD email—such as college applications, financial aid, and more—to your personal email address.
Preparation for Exporting
If you have not already done so, you should create a personal email address with Google (Gmail), a Cloud Storage account for file storage with enough space available for your PSD data (like DropBox or a personal OneDrive), or purchase an external hard drive prior to starting this process.
PSD is not responsible for this step. Please make sure to research the best option for you ahead of the deadline!
Google Drive
1. Navigate to https://takeout.google.com/.
2. If asked, sign in with your PSD email and password.
3. The next screen will give you a chance to select what data you wish to export.
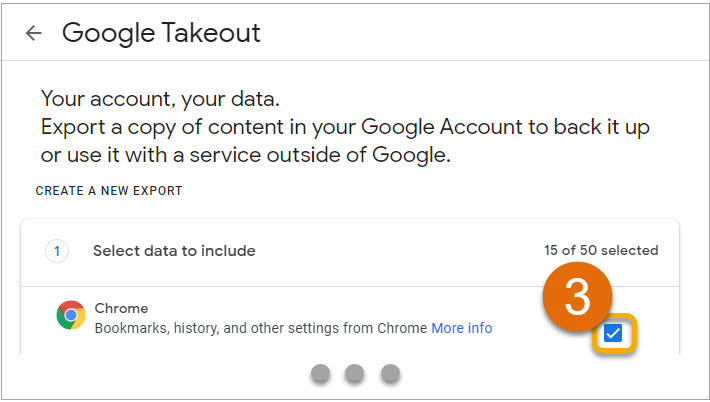
That's a lot of options but don't worry! The 15 big ones to select are as follows:
- Calendar
- Chrome
- Classroom
- Contacts
- Drive
- Google Account
- Google Play Store
- Groups
- Keep
- My Activity
- Profile
- Reminders
- Saved
- Tasks
- YouTube and YouTube Music
Note: Not sure what other data to include in the Takeout? Please get with your school to get answers to specific questions!
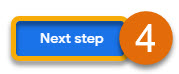
4. Scroll down until you see the "Next step" button, then click it.
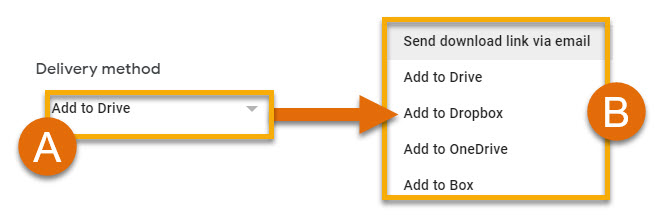
5. Click the 'Delivery method' drop-down menu (A), and select the method you wish to use.
Note: If you are using an external hard drive, you must choose 'Send Download link via email'.
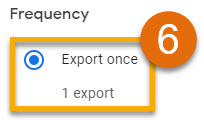
6. Ensure the "Export once" radio button is selected.
7. For the "File type & size" section, ensure the default options for ".zip" and "2 GB" are selected.

8. Click the "Create export" button.
A. "Add to DropBox", "Add to OneDrive", and "Add to Box" will have the "Link accounts and create Export step" button.
B. "Send download Link via email" or "Add to Drive" will have the "Create export" button.

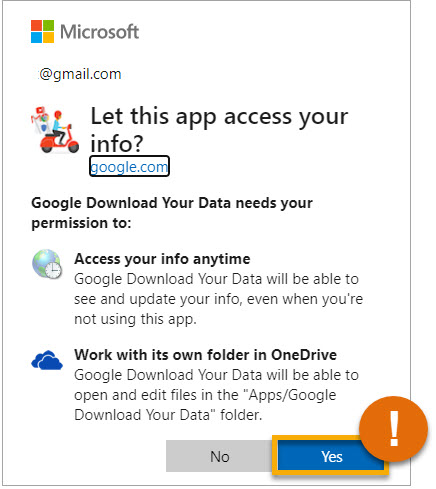
Note: If you are using Option A, you may need to allow Google access to that application. Just sign in and click the "Yes" button to finish the connection.
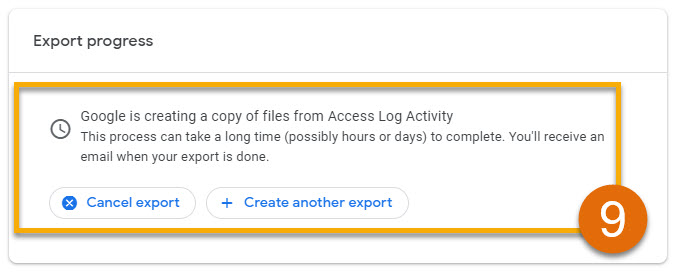
9. Your "Export Progress" will pop up, allowing you to see the status. Depending on the amount of data, this process can take several days to complete.
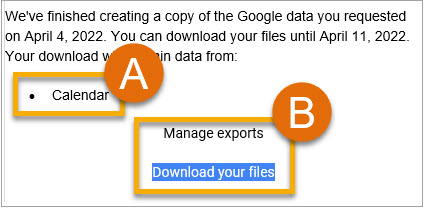
10. Check your PSD email for a confirmation email from Google Takeout. There you will find a summary of the Data you Exported (A), and
a button to access the method you chose (B).
11. You're All Set! You can now export data from your Google Drive!
OneDrive and SharePoint
OneDrive
1. Navigate to mail.psdschools.org.
2. Click the grid in the upper-left.
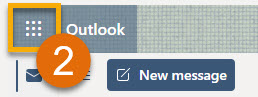
3. Click 'OneDrive'.

4. Hover over the blank area to the left of the items you want (A), then click to select them (B).
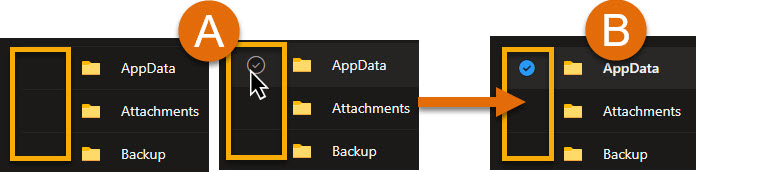
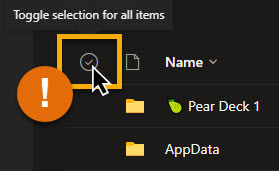
Tip: Want a quick way to select everything? Hover over the blank area to the left of the File icon and click the circle that appears.
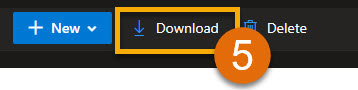
5. Click the 'Download' button that appears near the top bar.
6. You can now select where you want to save your data on your computer or external hard drive. If you need to move this to Cloud storage after this step you can do so by following the instructions shared by that specific application for importing files.
SharePoint
1. Much like the OneDrive instructions above, get to your OneDrive from your PSD mail account and the grid in the upper left.
2. Click on the SharePoint library you need on the "Quick access" menu to the left.
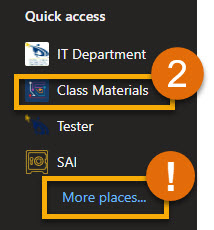
Tip: If you don't see your library, click the "More places" link underneath the list.
3. The remaining steps are the same as Steps 4-6 in the section above, titled "OneDrive".
School Server
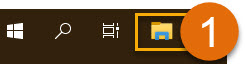
1. Open your File Explorer on your PSD computer.
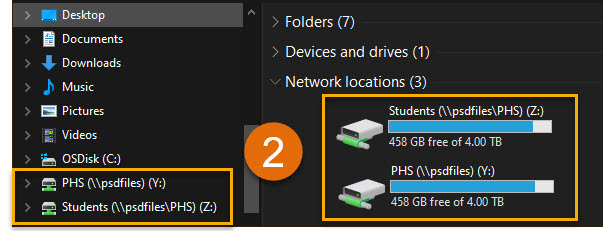
2. Click on the drive for your School Server.
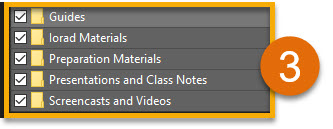
3. Select the Files and Folders you wish to copy.
4. For copying to an External hard drive, press "CTRL + C" on your keyboard (A), or "Copy" in the folder menu (B).

Tip: You should never use "Cut" when transferring important data! Using "Copy" instead keeps your original data safe during the transfer process.
5. If you are copying to another application, please refer to that company's instructions for importing data.
Adobe Creative Cloud Files
Some users have been leveraging the Adobe Creative Cloud Files to house their projects and Libraries . This section will cover retrieving those files.
Libraries
1. Open the Libraries panel inside any Creative Cloud app.
2. Select the library that you want to export.
3. Click the More options menu ![]() in the upper-right corner of the Libraries panel.
in the upper-right corner of the Libraries panel.

4. Select "Export <Library name>".

5. Click "Select folder", choose the location you wish to save to (such as an external harddrive), and then save your library.

6. Click "Export". A copy of your library is now available in your local device.

Files
1. Open the File Explorer on your Computer.

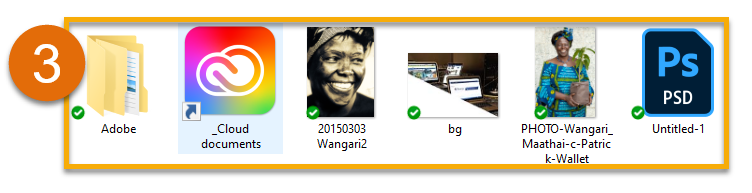
2. Click "Creative Cloud Files" from the Navigation Pane.

3. Copy/Paste the files you want over to your hard-drive, or other non-PSD storage solution.
4. You're All Set!
Accessing Xello after Graduation
These applications are frequently used to guide students in identifying strengths and skills as they move into college, careers, or both. Because students also use this to plan and house items like Resumes, it's important to know how to get the content from these sources as well.
Remember, as long as you set up another email on Xello, you will have access to this material for up to 5 years!
Step 1: Prior to Graduation
- While you are still attending school prior to graduation, please follow the instructions listed here to add a personal email address to your Xello account.
Note: This step is critical as your school information will be deactivated over the summer. If no personal information is attached, your Xello account will become locked behind your school email.
Step 2: After Graduation
- After graduation, you will navigate to login.xello.world and click the "Having Trouble Signing in?" link. This will prompt you to enter the personal email address you added to Xello in Step 1.
- After you enter your email click "Send Email".


Step 3: Resetting Your Password
After receiving the email, open the link in the email by clicking Retrieve Access. This will allow you to recover your username and reset your password.

Step 4: Logging In
- After you’ve entered your new password click Sign In to complete the process. You will then log in using the username displayed and the new password you created at all times moving forward. If you ever lose track of this information you can repeat steps 2-4 again.
Note: All passwords for Xello must be 8 characters and are case-sensitive.

Also, be sure to update any other accounts linked to your PSD email—such as college applications, financial aid, and more—to your personal email address.
You're All Set! You can now export your PSD data to other places before graduating or leaving the District.